 how-to
How to Conduct Site Risk Assessments: A 2026 Guide
Table of Contents
- What Is a Site Risk Assessment and Why It Matters
- Step 1: Identify Hazards Using a Workplace Hazard Identification Checklist
- Step 2: Assess Risks Using a Risk Assessment Matrix Example
- Step 3: Determine Control Measures Using the Hierarchy of Controls
- Step 4: Document Findings and Create a WHS Risk Assessment Template
- Step 5: Review, Monitor, and Comply with Safe Work Australia Risk Management Code of Practice
- Common Mistakes to Avoid During Site Risk Assessments
- Frequently Asked Questions
Last Updated: August 6, 2026
What Is a Site Risk Assessment and Why It Matters
A site risk assessment is a systematic process of identifying potential hazards at a workplace, evaluating the likelihood and severity of harm, and implementing control measures to reduce risk. It's the foundation of any responsible workplace safety program and a legal requirement under Australian workplace health and safety legislation.
At Tupper Security, we conduct independent site risk assessments for businesses across South-East Queensland, from construction sites and warehouses to retail stores and event venues. The process isn't about ticking boxes on a compliance form. It's about understanding how your site actually operates, who works there, what could go wrong, and what steps will genuinely protect them.
Many businesses treat risk assessments as a one-time exercise. A proper site risk assessment is a living document. Work conditions change, equipment ages, staff turnover happens, and new hazards emerge. The legal framework is clear: the Safe Work Australia Risk Management Code of Practice requires organisations to identify hazards, assess risks, implement control measures, and review those measures regularly. Beyond compliance, a thorough risk assessment protects your people, reduces incidents, cuts insurance costs, and gives you documented evidence that you've taken reasonable precautions.

This guide walks through the five-step process for conducting a site risk assessment that actually works. Whether you're managing a small retail store, a multi-site operation, or a large construction project, these steps will help you identify what matters, assess it properly, and implement controls that stick.
Step 1: Identify Hazards Using a Workplace Hazard Identification Checklist
The first step is identifying every potential hazard at your site. A hazard is anything with the potential to cause harm, a wet floor, an overloaded electrical outlet, poor lighting, or unclear communication protocols are all hazards.
Most teams underestimate how many hazards exist at their site. Use a structured approach: walk the site methodically, consult with people who work there every day, review incident records, and check what similar sites have identified.
Common site hazards to look for
Physical hazards include slips and falls, moving machinery, electrical equipment, heights, noise, vibration, and temperature extremes. Chemical and biological hazards include exposure to cleaning products, solvents, dust, mould, and bloodborne pathogens. Environmental hazards cover poor ventilation, inadequate lighting, extreme temperatures, and weather exposure. Ergonomic hazards, repetitive strain, poor posture, manual handling, often go unrecognised until someone gets injured.
Psychosocial hazards are increasingly important: work stress, bullying, harassment, fatigue from long hours, and lack of support. Consultation hazards arise when staff feel unheard or when communication breaks down, leading to people bypassing safety procedures.
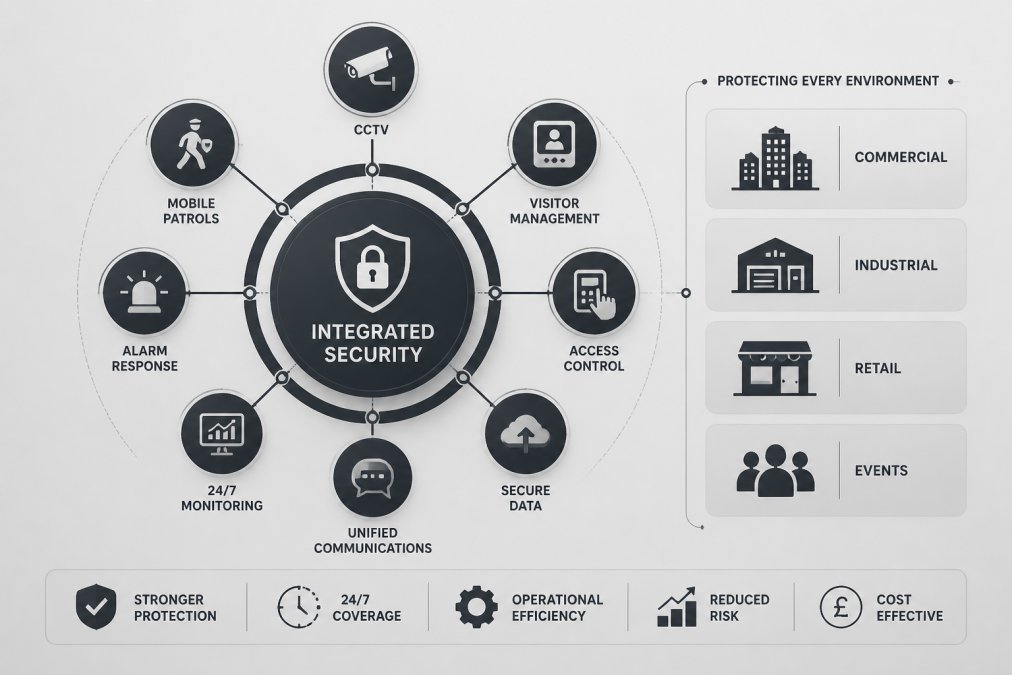
Security hazards are relevant to many sites. Inadequate access control, poor CCTV coverage, insufficient lighting in car parks, and lack of incident response procedures create vulnerability. At Tupper Security, we've reviewed dozens of sites where security gaps also created safety vulnerabilities: poor lighting that prevents hazard spotting, access control that doesn't distinguish authorised from unauthorised personnel, and response procedures that don't account for security incidents.
Who might be harmed and how
Hazard identification isn't complete until you specify who could be harmed: employees, contractors, visitors, clients, members of the public, and vulnerable groups like young workers or pregnant staff.
Document this explicitly. "Slippery floor" is incomplete. "Slippery floor in the goods-in area could cause a slip or fall, leading to fractures or head injury, affecting warehouse staff and delivery personnel who move through that area multiple times daily" is complete. Specificity forces you to think clearly about actual risk.
Step 2: Assess Risks Using a Risk Assessment Matrix Example
Identifying hazards is half the job. The second half is assessing which ones matter most. A risk assessment matrix helps you prioritise by rating each hazard on two dimensions: likelihood and consequence.
Likelihood and consequence scoring
Likelihood is the probability that the hazard will actually cause harm. Rate it on a simple scale: rare, unlikely, possible, likely, or almost certain.
Consequence is the severity of harm if it does occur: negligible (minor injury, quick recovery), minor (injury requiring first aid), moderate (injury requiring medical treatment and time off work), major (serious injury, hospitalisation, permanent disability), or catastrophic (death or multiple serious injuries).
A hazard with high likelihood but low consequence needs addressing differently than a hazard with low likelihood but high consequence. A risk assessment matrix forces you to think about both dimensions together.
Calculating your risk rating
Multiply likelihood by consequence to get a risk rating. If you score likelihood 1-5 and consequence 1-5, you get a 1-25 scale. A hazard rated 1 is low priority. A hazard rated 25 demands immediate action.
Create a simple table: hazard name, likelihood score, consequence score, risk rating. Then sort by risk rating. The top 10-15 hazards are where you focus your control efforts. This is your risk register, the documented record of what you've identified and how you've prioritised it.
Be honest in your scoring. Look at incident data from your own site and similar sites. If the industry average for a particular hazard is "unlikely" but you've had three incidents in two years, your score should reflect reality.
Step 3: Determine Control Measures Using the Hierarchy of Controls
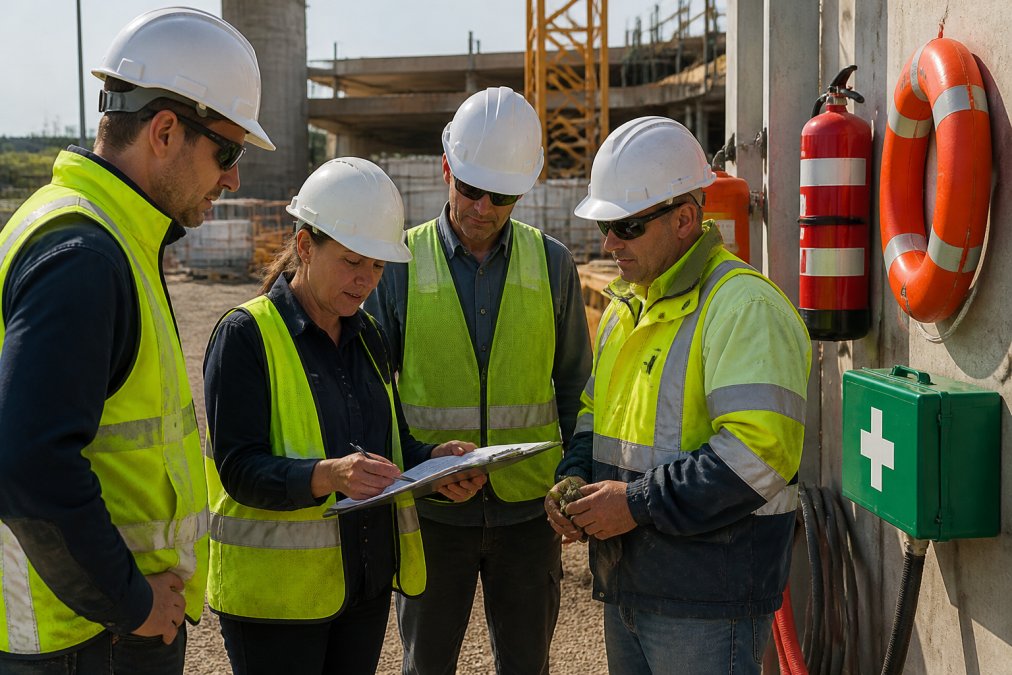
Once you've identified hazards and assessed their risk, you need to control them. The hierarchy of controls ranks control methods from most effective to least effective.
Elimination and substitution
Elimination means removing the hazard entirely. If a task is unnecessary, stop doing it. If a chemical is hazardous, ask whether you really need it. Elimination is the gold standard because it removes the risk completely.
Substitution means replacing the hazard with something less dangerous. Use a less toxic cleaning product instead of a corrosive one. Replace a manual handling task with a mechanical lift. Substitution often requires upfront investment, but it addresses the hazard at its source.
Many teams skip elimination and substitution because they require changes to process or equipment. But if you've done your risk assessment properly, the high-risk hazards deserve the effort.
Engineering, administrative, and PPE controls
If you can't eliminate or substitute, move to engineering controls: physical changes that reduce exposure. Better ventilation, machine guards, fall protection systems, improved lighting, and noise barriers are engineering controls. They require capital investment but work continuously, regardless of human behaviour.
Administrative controls are work procedures and policies: training, supervision, safe work method statements, maintenance schedules, incident reporting, and rotation of tasks to limit exposure. They depend on people following procedures, so they're less reliable than engineering controls, but often cheaper to implement.
Personal protective equipment, hard hats, gloves, respirators, high-visibility clothing, is the last resort. PPE only protects the person wearing it, and only if worn correctly and maintained properly. It's essential in many situations, but should never be your primary control for a high-risk hazard.
A well-designed control strategy uses all three levels. For a chemical hazard, you might eliminate it where possible, substitute safer chemicals elsewhere, install ventilation (engineering), implement handling procedures and training (administrative), and require gloves and respirators (PPE) for remaining exposure.
Document which controls you're implementing for each hazard, and record the residual risk, the risk that remains after controls are in place. A hazard rated 20 before controls might be rated 8 after you've implemented engineering and administrative measures. That residual risk should be acceptable; if it's not, you need stronger controls.
Step 4: Document Findings and Create a WHS Risk Assessment Template
Documentation is non-negotiable. You need a record of what you've identified, how you've assessed it, what controls you're implementing, and who's responsible for what. This is your evidence of due diligence and your baseline for monitoring whether controls are actually working.
What to include in your risk register
Your risk register should list each hazard, the area or activity it relates to, who might be harmed, the likelihood and consequence ratings, the risk rating, the control measures you're implementing, the residual risk after controls, who's responsible for implementing and maintaining each control, and target completion dates.
Use a simple spreadsheet or dedicated WHS software tool. The format matters less than consistency and completeness. Include photographs where relevant. A photo of a damaged stairway or cluttered storage area is worth more than a written description and provides evidence that you actually inspected the site.
Recording residual risk after controls
After you've implemented controls, reassess the risk. Document this clearly. A hazard might go from "likely + major" (risk 16) to "unlikely + moderate" (risk 4). That's a successful control strategy. If the residual risk is still unacceptably high, you need to strengthen your controls or escalate the issue to management.
This distinction, original risk versus residual risk, shows that you've taken the hazard seriously and implemented proportionate controls. It also flags which controls are working and which ones need review.
Step 5: Review, Monitor, and Comply with Safe Work Australia Risk Management Code of Practice
A risk assessment isn't a one-off exercise. The Safe Work Australia Risk Management Code of Practice requires regular review and monitoring. Work conditions change, incidents happen, new equipment arrives, staff turnover occurs. Your assessment needs to evolve with your site.
Review cycles and when to reassess
Schedule formal reviews at least annually, or more frequently if your site is high-risk or rapidly changing. Construction sites might review monthly or weekly. A retail store might review annually unless there's a significant incident or operational change.
Trigger points for reassessment include: a serious incident or near-miss, changes to equipment or processes, changes to staffing or roles, regulatory changes, feedback from staff or safety representatives, and changes to the physical environment. Document these reviews and the outcome. If you identified new hazards, add them to your register. If existing hazards have changed, update the assessment.
Consultation and duty of care
Your duty of care includes consulting with workers and safety representatives. They spend their days at the site and notice hazards that management might miss. Their input makes your assessment more accurate and builds buy-in for the controls you implement.
Create a simple process: share your draft assessment with staff, ask for feedback, document what they tell you, and explain how you've addressed it. Keep records of consultation: who you spoke to, what they said, and how you responded. This demonstrates that you've taken their input seriously and that your assessment is based on operational reality.
Common Mistakes to Avoid During Site Risk Assessments
Most risk assessments fail not because the method is wrong, but because teams cut corners or miss critical steps.
The first mistake is treating the assessment as a compliance tick-box rather than a genuine safety tool. Your risk ratings will be inaccurate and your controls won't address the real risks.
The second mistake is skipping consultation. If you assess the site yourself without talking to the people who work there, you'll miss hazards and misjudge likelihood.
The third mistake is over-relying on PPE. If most of your controls are PPE, you haven't actually addressed the hazards, you've just shifted the burden to workers to protect themselves.
The fourth mistake is setting controls and forgetting them. A control only works if it's maintained and followed. Build in maintenance and monitoring from the start.
The fifth mistake is underestimating psychosocial hazards and security risks. Mental health, bullying, fatigue, and poor communication cause real harm. Security gaps, inadequate access control, poor visibility, and unclear incident procedures create vulnerability that can escalate to physical safety issues.
The sixth mistake is conducting the assessment in isolation. If you manage multiple sites, your assessments should be comparable and consistent. If you've hired external consultants, their expertise should inform your process.
The seventh mistake is poor documentation that doesn't lead to action. An assessment that identifies hazards but doesn't clearly assign responsibility and set deadlines for control implementation is just a report. Real assessments drive change.
Conducting a proper site risk assessment takes time and honesty. You need to walk your site systematically, talk to the people who work there, think clearly about what could go wrong, and commit to implementing controls that actually reduce risk. It's an ongoing responsibility.
If you're managing a site in South-East Queensland and want an independent, expert assessment of your security and safety vulnerabilities, Tupper Security provides tailored risk assessment and security design reviews. Our multi-class licensed operators conduct thorough site inspections, identify gaps in access control and surveillance, and recommend controls aligned with your actual operations. Request a quote to discuss your site's specific needs.
Frequently Asked Questions
What are the 4 steps of a site risk assessment in Australia?
The four core steps are: identify hazards (what could cause harm), assess the risk (likelihood and consequence), determine control measures (using the hierarchy of controls), and document findings with a review cycle. Australian WHS legislation requires all four steps to be completed and documented to meet your duty of care obligations.
How do you use a risk assessment matrix example to score likelihood and consequence?
A risk assessment matrix plots likelihood (low, medium, high) against consequence (minor, major, catastrophic) to produce a risk rating. For example, a slip hazard with low likelihood but high consequence (broken leg) scores as medium risk. A minor cut with high likelihood scores as low risk. This approach helps prioritise control measures where risk is highest.
What should a WHS risk assessment template include?
Your template must document the hazard identified, who might be harmed, the initial risk rating, control measures applied (with the hierarchy of controls), the residual risk after controls, responsibility for implementation, and review dates. Safe Work Australia's risk management code of practice requires this documentation to demonstrate your organisation has managed risks systematically and can prove compliance during an audit.
How often should a site risk assessment be reviewed?
Review your assessment at least annually, after any incident or near-miss, when work processes change, when new equipment is introduced, or if control measures fail. A site-specific assessment may need review more frequently if hazards are dynamic or if your workplace changes seasonally or operationally. Document each review to show ongoing compliance.
This article was written using GrandRanker